Create New Scan Session – Scanning (app)
From the Session Setup screen, tap Start Scanning.
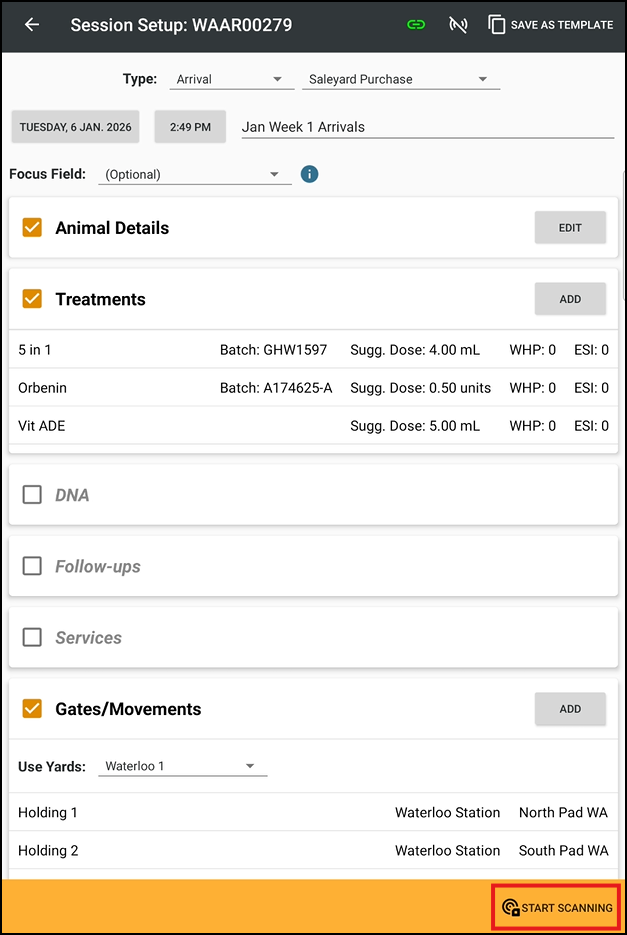
For further details about setting up a Scanning Session refer Create New Scan Session – Session Setup (app).
Overall Session Screen
- Tap the Cog Icon to return to the Session Setup screen.
- Tap Note to add a note to the Session, if desired.
- Tap Wastage, to record Treatment Item wastage associated with the Session.
Refer to Inventory Transactions: Adding a Purchase, Sale, Wastage, Stocktake (app) for further information on this functionality. - Tap
to add Documents and Services to the Session (if desired) ; to Backup the Database or to hear Audible Feedback during the Scan Session.
Individual Animal Scan Screen
- Scan the animal’s EID.OR for animals that exist in StockMate, enter the Visual Tag, Alternate Tag or Society ID, tap Search.OR animals can also be search via NLIS ID, if required. The NLIS ID must be download from the NLIS Database prior. Refer to Download NLIS Devices Purchased or Downloading from the NLIS database to StockMate for further information on how to achieve this. Tap the
button to toggle between EID and NLIS ID.
 The Vis Tag, Alt Tag, Society ID and NLIS ID fields support wildcard searching. Represent a single unknown character with ? or multiple with *. Multiple ? and * are allowed.
 - If connected to a weigh scale, tap Capture to capture weight (if required).Most scale heads can be setup so weight is captured automatically - refer to relevant Hardware Device documents for settings.
- Select values for the animal, tap Save & Close.
Other Features on the Individual Animal Scan Screen
The Scanning screen differs depending on the Session Setup.
- To view and edit all available fields, regardless of Session Setup, tap
, Show All. (Tap Show Less to return).
- To include audible feedback in the Scan Session, tap
and check the Audible Feedback box.
- Tap Note to add a note and a photo to a particular animal. Historical Notes will
be visible against the animal in future scan sessions and in Animal
Details.
- Tap Flag to flag a particular animal. This will be visible in the session summary.The screen background for that animal will turn red. Sessions with flagged animals cannot be Reconciled (until the Flag is removed).When an animal is Flagged, the status of the animal shows as Pending review.
- Tap Follow-ups to add a Follow-up to the animal. Select Add, enter Follow-up details.
Refer to Follow-ups (app) for further details about adding and clearing follow-ups. Follow-ups
are associated with a Follow-up Date. If a Follow-up is not completed
by the listed date, the screen background for that animal will
be yellow.
Follow-ups
are associated with a Follow-up Date. If a Follow-up is not completed
by the listed date, the screen background for that animal will
be yellow. - A blue background will display if an animal is re-scanned within a session.
- To replace a Tag, tap
to edit EID or Visual Tag, then scan or enter the replacement tag number.
- Tap
to view the History for the relevant fields.
- Treatments added in the Session Setup will automatically be applied to each animal (‘Apply’ button is orange).To apply a new Treatment, tap Add, enter the Treatment details. (‘Apply’ button will be orange).When a Treatment is applied, the Ailment being treated by each Treatment item, can be selected from the dropdown list. This is optional.To un-apply a Treatment to an individual animal, tap
to open the Treatments section of the Scan Screen, tap Apply (‘Apply’ button will turn grey).
- After saving each animal, a summary of all session animals becomes visible. Tap an animal to view/edit its details.
- After saving each animal, the 'Summary' bar becomes visible. Tap it to view Total Weight, Average Weight, ADG and head summaries per Gate.
Related Articles
Create New Scan Session – Session Setup (app)
Scan sessions are used when scanning individual animals for Arriving, Handling and Exit. Creating a Session A Session can be created on the web or the app. For instructions on creating a Session on the web, refer to Create New Session – Scan Session ...Create New Session – Scan Session (web)
Scan sessions are used when scanning individual animals for Arrival, Handling and Exit. Select Sessions, + New Scan Session. Input details of the Scan Session, ensure that Scan is selected, + Create Session. Select + Add Animal. Manually input the ...Edit Existing Session (app)
Imported, Scanned or Bulk Sessions that have been entered via the web or the app can be edited. From the Dashboard, tap Sessions to view the Session List. A list of Sessions is displayed. Reconciled Sessions are shaded green The selected Session is ...Session Templates (web)
Session Templates can be setup on the web. These will then be available for use on the Tablet in a Scan Session. When setting up a Session Template, there are seven sections on the Session Template Setup screen: Animal Details, Treatments, DNA ...Create New Session – Bulk Session (web)
A Bulk Session enables you to easily make changes to a group of animals in bulk. Examples of such changes include- Moving the animals (by updating their Property and/or Paddock) Updating attributes such as Mob or Class Marking animals as Preg Tested ...